Archives

Cytoplasm sculpture

Jess's maker blog

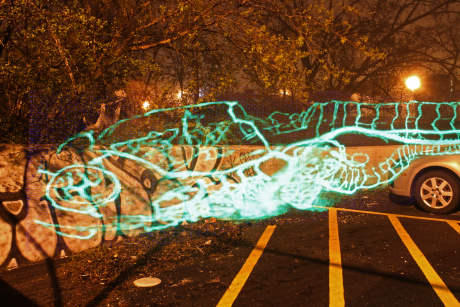
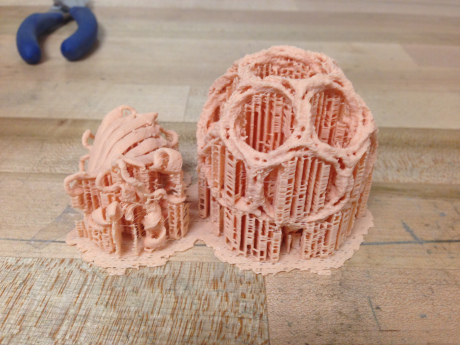
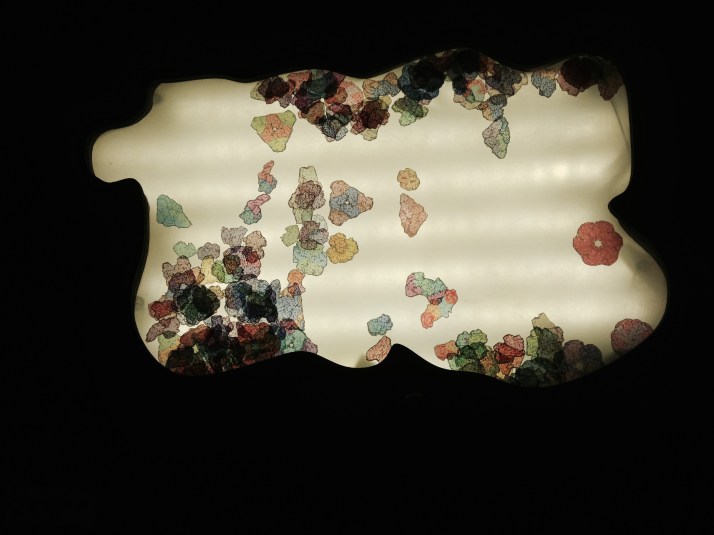
The end result, titled “Window into the cell”, exhibited at UWM’s Arts+Technology night, May 18th, 2016.

CHO_cytoplasm_window

I was initially a bit disappointed as there weren’t enough proteins to really give a sense of molecular crowding, also, I did not anticipate the proteins would be so non-uniformly distributed, but the vibration is creating a sort of cymatic pattern so different areas have different energies (different areas are more attractive then others, due to shape)- the silver lining is that this is not entirely unlike in a cell.  I played around with using a lower vibration intensity at the end to try to jiggle them to the center again- 2 seconds was not enough, will have to play more with that.  Pete suggested warping the acrylic to  try and draw them towards the center.

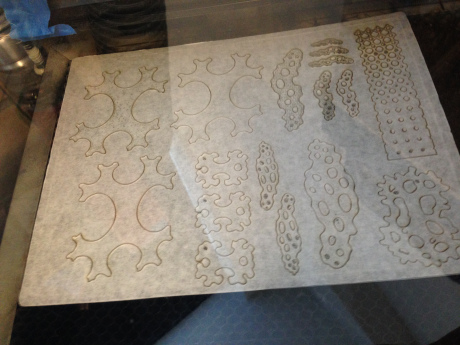
Areas my proteins prefer:

IMG_7010.jpg

Immediately before arts/tech night the 3D printed motor bracket broke off, so the motor was bouncing around…

View original post 46 more words

Advertisement

fabricating the motorized cell/cytoplasm sculpture

Jess's maker blog

So the only piece of acrylic I had big enough was mirrored.  I thought about leaving it that way as the reflections from the lights create a neat glistening effect in the fresnel-proteins.  But it just needed to be backlit, was too dreary without a glow.  So I sanded off the mirror backing then sandblasted the acrylic.

IMG_6973

IMG_6982

The guts.  There are two barrel jacks for power and a potentiometer which controls motor intensity in the back of the case.  As soon as I started adding electronics it became apparent how difficult it would be to access them.  Different things are tethered to different parts.

After doing a trial where the acrylic was resting on foam padding, it occurred to me that the platform should be resting on springs so to have the best range of motion. So springs happenend.

IMG_6986

^The motor is secured beneath the sandblasted acrylic which has a rim to prevent…

View original post 3 more words

fabricating the motorized cell

Jess's maker blog

Adventures in vibrating platform fabrication: so for my cytoplasm sculpture, I started with making a box and immediately completely hated it.  It needed to be atleast round, if not more organic shaped.  So I drew inspiration from my existing micrograph:

CHO_cytoplasm_window

IMG_6938

My original design called for three 1.75″ plywood parts stacked together, to be CNC routed.  I started (above) but needed a different bit.  Unfortunately the motor driver on the CNC burned out after that, so I tried to have it done at milwaukee makerspace- when there computer power supply burned out.  So the guy that was helping me suggested to laser cut it- their laser cutter is a few inches bigger (makes a huge difference).  Meanwhile I still have this thick plywood that is actually sort of pretty, with a weird ass shape carved in it.

So I made my design a bit less tall and we cut it out of 1/4″ baltic birch plywood, in 12…

View original post 80 more words

cell sculpture electronics

Jess's maker blog

unnamed

Tonight I worked on the electronics for my cell sculpture.  The DC vibration motor is controlled by the adafruit motor shield (v2).  The motor will be triggered by a pushbutton to turn it on for 10-15 seconds, its’ overall speed controlled by a potentiometer.  The button will also cause a white LED strip (backlighting) to fade in, then fade out after the motor finishes.  Here’s what the wiring looks like (DC motor not pictured):

fritzing

Here is the arduino code:

//For use with the Adafruit Motor Shield v2
*/

#include <Wire.h>
#include <Adafruit_MotorShield.h>
#include “utility/Adafruit_MS_PWMServoDriver.h”

// Create the motor shield object with the default I2C address
Adafruit_MotorShield AFMS = Adafruit_MotorShield();
// Or, create it with a different I2C address (say for stacking)
// Adafruit_MotorShield AFMS = Adafruit_MotorShield(0x61);

// Select which ‘port’ M1, M2, M3 or M4. In this case, M2
Adafruit_DCMotor *myMotor = AFMS.getMotor(2);
// You can also make another motor on port M2
//Adafruit_DCMotor *myOtherMotor =…

View original post 121 more words

neopixel light painter

Jess's maker blog

For my last project for Pete’s class I’ve been making a neopixel light painter, an arduino controlled LED strip for painting digital images over long exposures.  My background in photography made me naturally curious to try it and what better subject matter then flourescent microscopy! Many fluorescent microscopes work by rastering a tiny point of light across the sample, so dragging and LED strip to replay the image seems appropriate, somehow.  I would like to play around with scale, in how the images are juxtaposed with their surroundings.  Anyway, there is amazing documentation on how to build a light painter here: https://learn.adafruit.com/neopixel-painter/overview.  Warning: neopixels are not the cheapest.

After some adventures in soldiering and troubleshooting loose connections I am proud to present my fluorescent cell painting stick!

IMG_9173

The cell nucleus (often stained blue with a DNA stain called dapi) would make awesome moon(s) on the horizon, I think.  Vesicles often look like little glowing dots…

View original post 49 more words

3d printing biology

Jess's maker blog

Often in textbooks proteins and molecules are rendered in a way which makes them look made of colorful plastic.  Would love to do an installation of some kids room with instead of toys, hundreds of 3D printed proteins in numerous colors, strewn about floor in a complete mess.  The problem with plastic appearance is that it’s hard and static- ideally proteins would be represented in a wobbly material.  Anyway, I wanted to put my flesh colored filament to good use so I printed some biological stuff, all models via 3dprint.nih.gov

IMG_6226

^I love the way the flesh filament looks as your peeling away support material..

IMG_6245

^mouse retina neuron from NIH 3dprint, data by eyewire.org

IMG_6186

Some nuclear pores.  Below: nuclear pores on an SEM image I took, 100,000x magnification.

CHOextract_JH0015-40

IMG_6198

^GFP and clathrin cage.  GFP i can never get to print well- need dissolvable support.  Clathrin is a protein which assembles into cages around…

View original post 64 more words

laser cut fresnels

Jess's maker blog

I found acrylic fresnel lenses which means I can laser cut them!  Typical floppy magnifying sheets are pvc thus toxic to laser cut.    However the acrylic lenses are a bit thick (1/16″) and the ridges are bigger- they work best with larger shapes, detail gets lost easily with the ridges.

IMG_6375

We used transfer tape to minimize stray reflections.

IMG_6463

IMG_6482

Also, polarizers make the world a better place.

IMG_6595

IMG_6565

View original post

making the mask 2

Jess's maker blog

screenshot setae4

screenshotsetae7

For the next iteration, I created the ‘exoskeleton’ that wraps around the face.  In this instance, I overcompensated and gave the hairs way too much room and they barely touch the face.  This was more of a test run as I wasn’t sure if I even had the right thickness of material, or how well it would fit the face (it fits me ok, others, not so much)- in the end I ran out of time.  Learned a lot, though..

IMG_6158

IMG_6161

IMG_6167

IMG_6180

IMG_6177

IMG_6174

View original post